
Adding Polygon (Matic) Network to MetaMask: A Step-by-Step Guide
When you have a MetaMask wallet installed on your Ethereum network, one of its primary functions is to allow users to access and interact with decentralized applications (dApps) on the blockchain. However, when it comes to connecting to alternative networks, such as Polygon’s Matic network, things get more complex.
In this article, we’ll explore what you need to know when adding a custom network to your MetaMask wallet to connect to the Polygon (Matic) network.
Why Add a Custom Network?
Before diving into the step-by-step guide, it’s essential to understand why you might want to add a custom network to your MetaMask. Here are some scenarios:
- You’re an exchange or trading platform that wants to enable users to access and trade Matic tokens on their own platforms.
- You’re a dApp developer who needs to interact with the Polygon network for testing purposes.
- You’re a user who wants to participate in staking rewards on Matic.
Required Details for Adding a Custom Network
To add a custom network to MetaMask, you’ll need to provide the following details:
- Network Name: The name of your custom network. This should match the format used by the Polygon (Matic) network (e.g.,
polygonmainnet).
- Chain ID:
The unique identifier for the Matic network. This is used to identify the specific chain.
- Public Address: A public address that can be used to connect to your custom network. This is usually in the format
0x....
- Network URL:
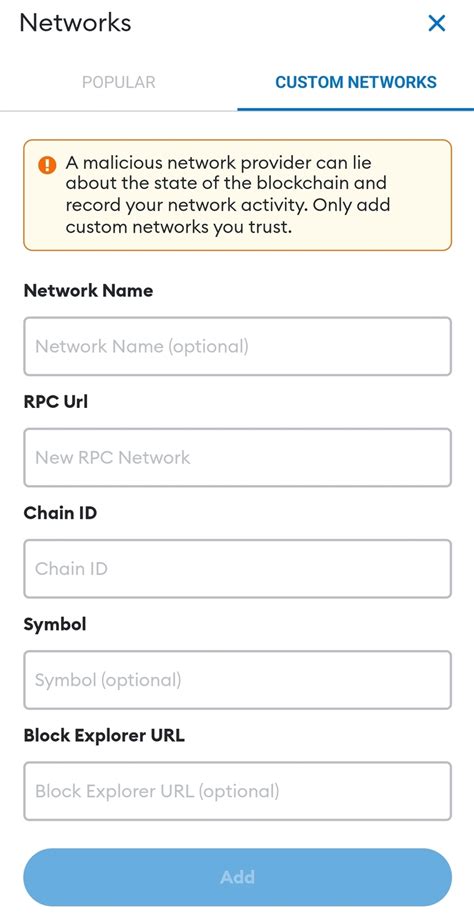
The URL of your custom network, which should point to a local blockchain instance.
Adding a Custom Network
To add a custom network to MetaMask, follow these steps:
- Open the MetaMask app and navigate to the Settings section.
- Click on “Advanced” or “Networks” to access the settings page.
- In the “Networks” section, click on the “+” icon to create a new network.
- Enter the required details for your custom network (network name, chain ID, public address, and network URL).
- Click “Create Network” to save your new network.
Testing Your Custom Network
Once you’ve added your custom network, it’s essential to test it to ensure everything is working correctly. Here are some steps to follow:
- Connect to the MetaMask app using the public address of your custom network.
- Verify that you can view and interact with Matic tokens on your new network.
- Test staking rewards, trading, or other dApp functionality as needed.
Security Considerations
When adding a custom network, it’s essential to follow security best practices:
- Use a secure connection (HTTPS) when connecting to your custom network.
- Keep your MetaMask wallet and private keys confidential.
- Regularly update your MetaMask app and plugins to ensure you have the latest security patches.
In conclusion, adding a custom network to your MetaMask is a straightforward process that requires providing specific details. By following these steps, you can successfully connect to the Polygon (Matic) network and access its features and functionality.